Showing posts with label Buttonholer. Show all posts

Wednesday 20 January 2016

Oliver + S: Family Reunion Dress


This is a dress I made around the end of 2014 in readiness for Christmas of that year.  I never got around to blogging about at the time.  I did however take some photographs during making up.  I bought the digital version of the pattern, printed it all out and stuck it together with tape.  I don't mind the process too much.  My version is sized to 24 months.  At the time the recipient was only 16 months but I pictured this dress getting more wear during the following summer and as it was intended to be a surprise I allowed lots of margin for growth.

I had a nice pale blue 100% cotton print in the stash, a little fusible interfacing and some reused shirt buttons.  The apparently simple, short-sleeved, A-line dress has quite a bit of detail.


The dress is shaped by tucks over the chest and back.  I sewed the dress using the Singer 201K treadle and used a vintage tuck marker to help me form the tucks.  Using the vintage attachment was fun but I would imagine that with careful measurements and thread marking one could easily manage without.


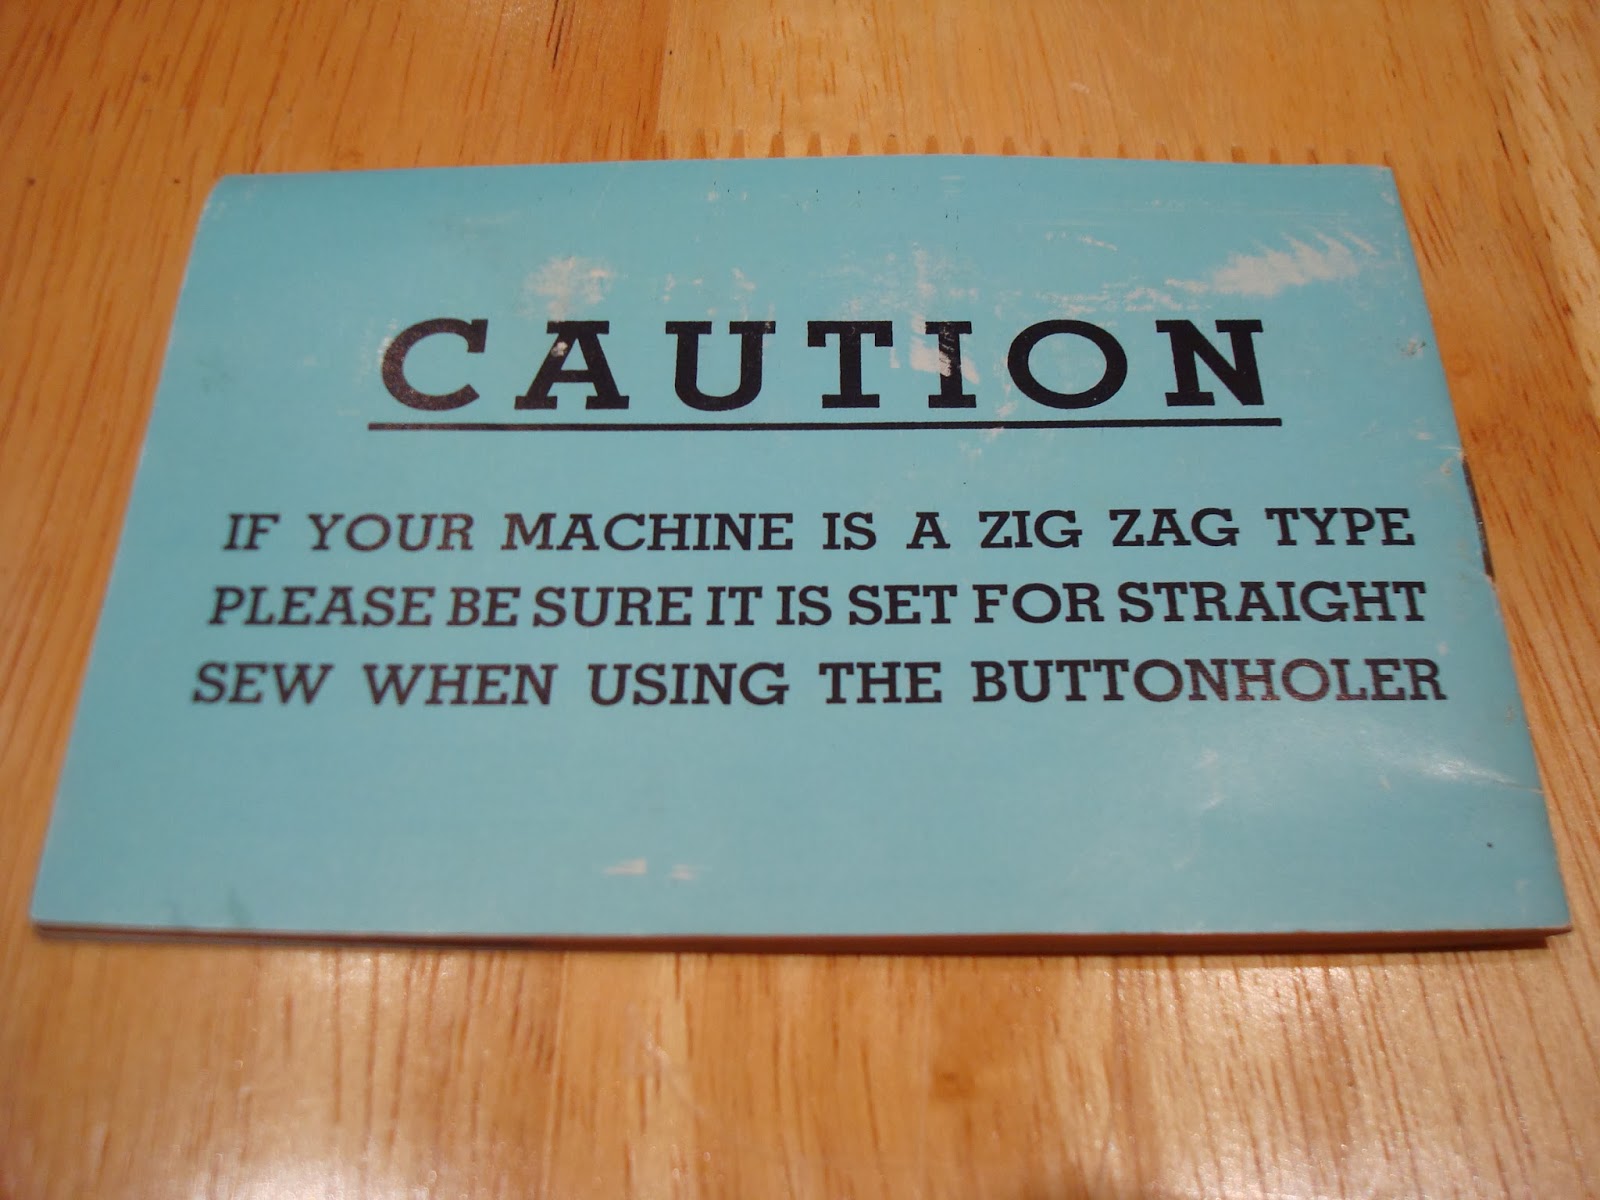
The dress buttons up the back.  I made the buttonholes on the Singer 201K fitted with Greist buttonholer.  The neckline facing is interesting in that it is turned to the right side and edge stitched in place.


The pattern has nice deep seam allowances and gives the usual modern instructions for finishing them with a zig-zag, serger or however else you might wish to.  I cribbed Muv's flat felled shoulder seams from the child's dress pattern she drafted and made.  The sleeves are hemmed, gathered and attached to the armscye before the side seams are closed.  I finished the sleeve head seam allowance with a zig-zag using the Singer 401G.  This was quick but if I made the pattern again I might make matching bias and use that to bind this seam. 


I used good old reliable French seams to close the sides of the dress which just made my zig-zag short cut on the armholes look even sloppier.

The pattern made quite a feature of what Oliver+S calls its signature hem.  This consists of a deep hem facing, worthy of the 1840s, turned to the inside and edge stitched.


The facing is then decorated with an additional five rows of topstitching spaced at quarter inch intervals.  The result is a good looking, firm hem which hangs well and is suggestive of hard wear.

This was a a very sweet little project to sew.  I would definitely make it again and would look at using Oliver+S patterns again in the future.

Thursday 24 October 2013

Greist Buttonholer #1

This arrived last week.  It was just in time to make the buttonholes on the French back boxers.  I am rather taken with it for a number of reasons - the funky box is only one of them.


According to the back of the box Greist seem to have offered a bewildering range of buttonholers, no fewer than ten, to suit every conceivable sewing machine.  Make sure you get the right one.  For standard low shanks (like my Singers 15K, 28K, 99K and 201K) it's model #1.  If you're looking for a buttonholer to suit a Singer slant shank it's model #5.


Inside the box is the buttonholer itself;

cover plate and screw;

five button hole templates;

and (best of all in some respects) the instruction book.

The instructions are copyrighted 1966 so the buttonholer can't be any earlier than that although I am given to understand that Greist produced this design of buttonholer we'll into the 1980s.  I love the colour of the buttonholer and the instructions it looks very mid sixties to me.

The instructions are really well written and even offers tips on what size thread and needles to use.  I was interested and delighted to read the following Special Note which I have never seen in a Singer instruction booklet!

This buttonholer should come with five templates - 5/16", 5/8", 13/16", 1 1/16" (straight and keyhole).  Mine came with a rather odd, but useful, mix 5/16", 1/2", 5/8", 7/8" keyhole and eyelet.  The templates are plastic but as far as I can gather earlier versions used pot metal ones and they are interchangeable.  Even better than that, Greist made buttonholers for Singer and the templates from these are also interchangeable.

This buttonholer is smooth and surprisingly quite in use and makes great buttonholes.  I think this one is going to be getting a lot of use probably with the Singer 201K with dropped feed dogs.

I love the back of the instruction manual as a parting shot!

Sunday 20 October 2013

Simplicity 1960: French Back Boxer Shorts - Pt II

Here are the finished boxers.  I added the buttonholes using my new toy a Griest #1 template buttonholer for low shank machines (this means YOU Mr Singer 201K).  I was very happy with the results.  I am planning a full photo-tour and review of the new (to me) buttonholer in a future post.
French back boxer shorts

Front and back there are seven half-inch buttonholes and one additional thirteen-sixteenths vertical buttonhole which allows the waistbands to cross at the back.  It's a lot of work but we all get a buzz out of using an automatic buttonhole attachment right?


The position of the buttons at the back give a range of adjustment for expanding and contracting waists.  I think this design must have arisen from wartime and post war shortages of elastic.


The half inch (12mm) buttons I used were saved from shirts I cut up last year to turn into my first quilt.  There a total of nine so I think can be forgiven for sewing them on with the Singer 401G.  I used white thread to match the buttons rather than pink to match the shorts.  Sewing buttons on with a vintage Singer is probably worth a post all of its own sometime soon.


I am happy with the way these turned out but.  I will need to forget how much work they are before I am tempted to make them again.

Thursday 27 June 2013

Negroni Shirt - Part VI


It's buttonhole time for the Negroni shirt.  I had a grim determination to finish the project on the 201K and I've never used the buttonholer on that machine so I decided it was time to give it a try.  The first thing to do was take the straight stitch presser foot off the machine.


Here is the 201K with the presser foot removed.  There's something really strange about seeing a familiar object with one tiny detail changed - a bit like seeing the cleanly shaven face of a usually bearded friend?

Interestingly the instructions of the buttonholer are to always use the cover plate and never to drop the feed dogs. I cannot imagine why this would be but I am a great one for doing as I'm told so here we are.  I make sure the needle passes through the slot in the cover plate and screw it down securely.


It takes a bit of jiggling to get the presser bar, buttonholer and needle clamp all lined up but here we are secure.


The two red plastic thumbscrews on the right of the machine allow one to adjust the "BIGHT" and "WIDTH".  The flat head adjustment screw for the stitch density is hidden in the triangular window in the body of the attachment.


Meanwhile, over on the other side of the attachment, the other small thumbscrew adjusts the length of the buttonhole.  In a middle position like this one the buttonhole comes out at about half an inch.  The larger screw advances the buttonholer through the perimeter of the buttonhole.


I made lots of sample buttonholes and even tried out the bar tack feature the attachment offers (centre top).  I had to play around a lot it's all fun trial and error stuff.  I found the belt of the machine slips a bit with the buttonholer adding extra drag so I may shorten it.


My finished button holes look okay and they work.  We'll see how they hold up to wear.