Thursday 18 April 2013

Preparing the Singer 401G for Straight Line Quilting

Here is the needle of the Singer 401G set up with the general purposes presser foot and throat plate.  This is how the machine was when it arrived and how it normally lives.  There are easy changes I can make to the machine to improve its quilting performance.


The changes revolve around this little lot.
  • No1 a walking foot
  • No2 a straight stitch throat plate
The general purposes throat plate is pictured on the left for comparison.  Apparently the smaller needle hole helps stitch formation by offering more support to the fabric.  The benefit of the walking foot is that it helps reduce "shift".  


This robust looking lever is the means by which the throat plate can be lifted to carry out darning (notice the symbol that looks like a darn), embroidery and free motion work.  Move the lever to the far left to remove the throat plate either for cleaning (notice the cute brush symbol) or to swap the plates.


Here is the machine with the plate swapped, the walking foot fitted and the stitch length adjusted to ten stitches per inch (just like the books told me to do).


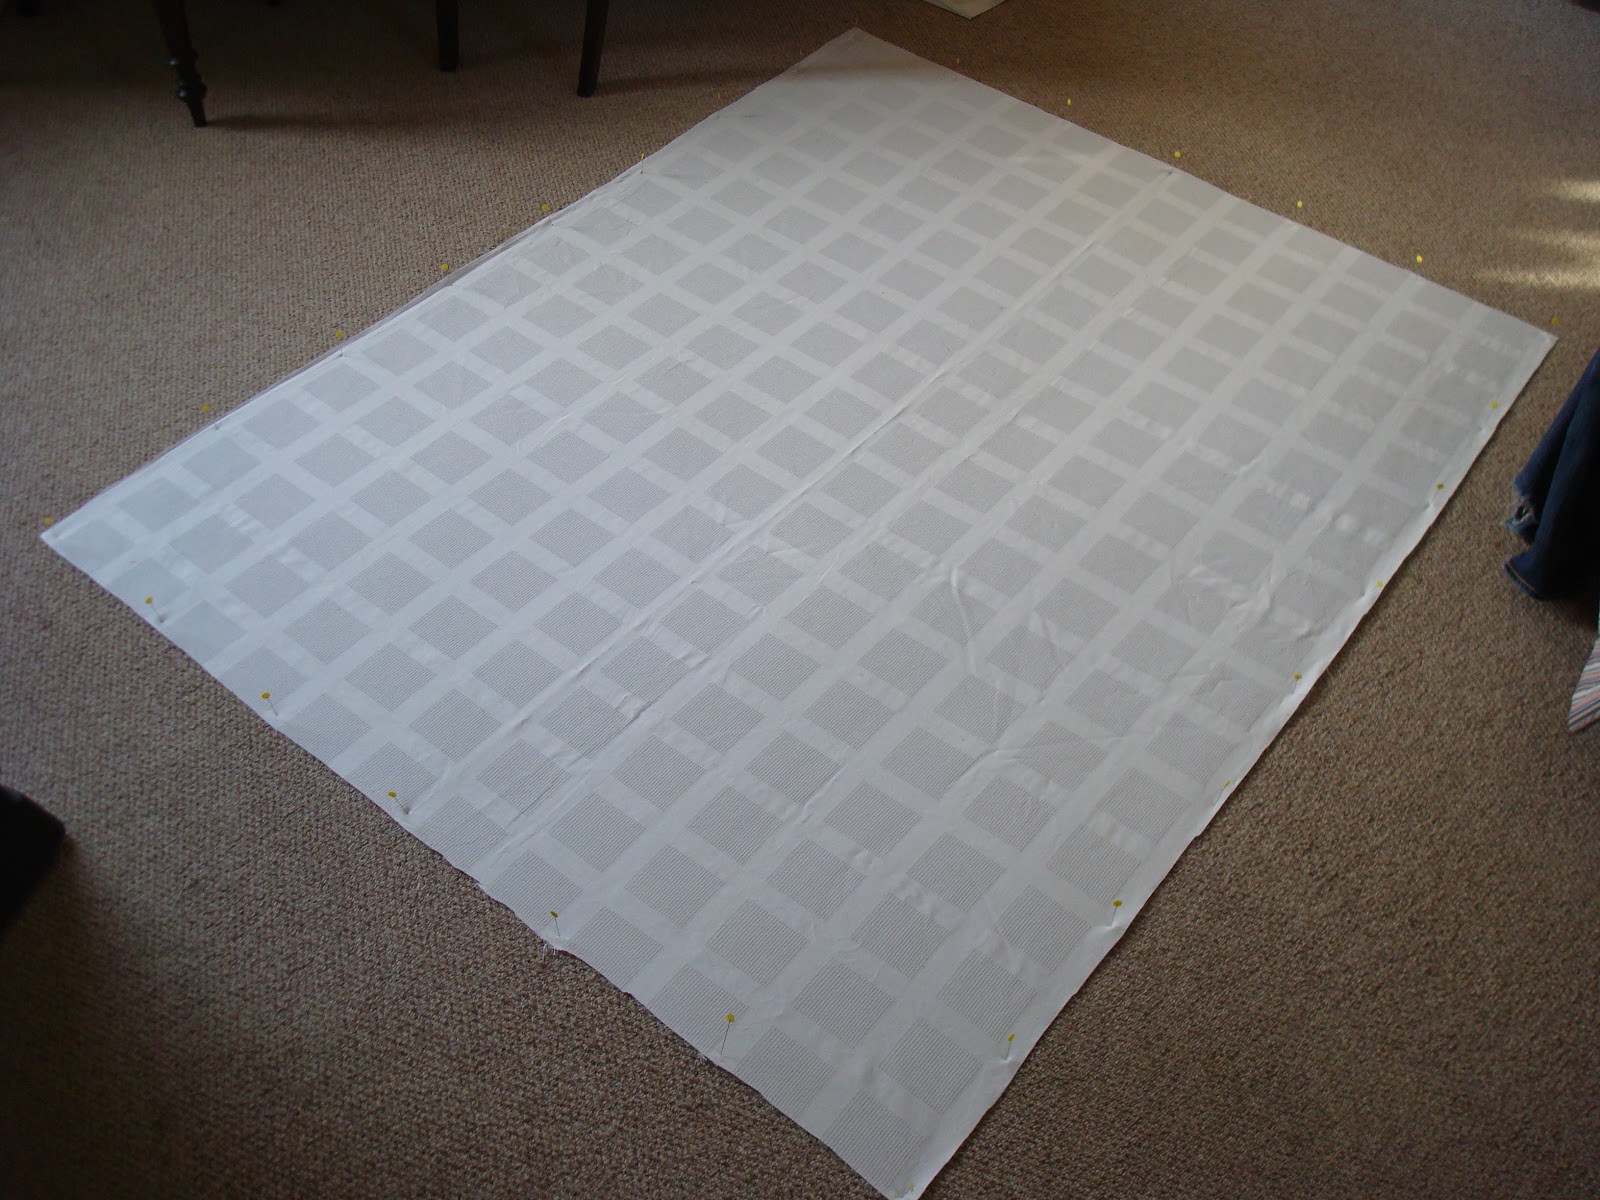
Next I made a trial sandwich using off cuts of the batting, backing and quilt top.  No point using materials that aren't similar to those in the finished project.  I played around sewing lines of quilting.  I found that the bobbin thread was only slightly visible first time so I reduced the upper tension half a number and tried again.  It took a few goes until the bobbin thread vanished somewhere inside the work.  That should do it.


Now I like quilting on the 401G with all this kit but remember - my first quilting project was pieced and quilted on a diminutive 1899 Singer 25K hand crank.  What is more that quilt, although it may never win first place and the Minnesota State Fair, actually looks ok and has been keeping me warm at nights since November 2012.  My point?  Don't let the gadgets put you off.  Think carefully, take your time, have a go!

Wednesday 17 April 2013

The Log Cabin Quilt: Batting on the Matting

I can hardly believe it has been a week since I last wrote on the blog.  Busy times for me if not for Oil and Thread.  Anyway this evening I feel like I have had the space and the energy to get back to work (or back to play) on the quilt.

Since I last wrote I have been to see the lovely Angela at The Creative Sanctuary to buy some lovely Cotton/Polyester blend batting.  It's suitable for machine or hand quilting up to ten inches apart and I spent Saturday afternoon pre-washing it in the bath and then most of the rest of the weekend trying to get it dry.  Up until this evening I was wondering if it would have been worth the bother.  That was before I began to assemble the quilt sandwich.

In the following picture I have lightly pinned the backing fabric to the carpet using quilter's pins.  I have read about this method but I found it hard to imagine that it would work.  It seemed only marginally less futile than trying to stick masking tape to fabric and carpet.  I guess a lot will depend on the type of carpet and how it is laid but here I was pleased and surprised at how I got on.


In my second picture I have smoothed the batting out over the backing fabric.  See how lovely and fleecy the cotton mix batting is.  I have pinned the batting, making sure not to stretch it, but I have yet to trim it to size.  I did this with my shears.


The third picture shows the quilt top added to the sandwich.  I have used the same quilter's pins to baste the sandwich.  Each of the red squares at the centre of the log cabin blocks has a pin through it.  It is worth remarking on how easy it was to get the pins to go through the cotton batting.  Progress this evening felt much smoother than my experiences working with safety pins and polyester batting on a previous project.


My plan now is to start quilting in-the-ditch between the long cabin squares.  My hope is that this will stabilise the layers and then I am imagining some sort of diagonal grid of quilting covering the middle panel.  Have I the strength to quilt in the ditch between every one of those piano keys in the border?  Would that be too heavy a treatment?  Questions I will need to ask myself and answer but first I want to set up the Singer 401G properly for the task in hand.

Wednesday 10 April 2013

Free Backing Fabric

Now I like a bargain but I like free even more.  I found this duvet cover discarded.  It was dusty and coffee stained but 100% cotton and a nice close weave at that.  I took it in and gave it a soak in  the bath and then a good hot wash and it came up a treat.  There is one tiny hole (a fag burn?) near a corner of one side of it  I suppose it got chucked because of the coffee stain.  Having got it clean I thought it would be great to use as a muslin for a shirt or dressing gown but now I have decided I am going to use some of it to back the log-cabin quilt.


I spread the duvet cover (inside out) on the sitting room floor and got out the trusty Fiskers.  I figured that if I trimmed away the overlocked seams I would be left with two nice large pieces of fabric.


I trimmed as close the the line of overlock stitching as I could so as to make the most of the fabric.  I selected the side of the duvet cover that doesn't have the hole to back the quilt and cut it down to 48 inches by 62 inches that allows for a three inch margin around the finished quilt top.  I will use the off-cuts to play with getting the tension right for straight-line quilting on the 401G.

I then pulled out the left over wadding I was planning to use from my stash and discovered that even if I cut and joined what I had it would be about 25% less than I need.  I knew my luck would run out somewhere along the line.  Oh well shops tomorrow or the next day.


Monday 8 April 2013

Meet the Singer 401G

Introducing:

Singer 401G Sewing Machine showing balance wheel.

"The SLANT-O-MATIC - the greatest sewing machine ever built!"

Well that's what Singer told new owners back in the late 1950s and early 1960s.  It really is quite a claim and probably an indefensible statement.  I am however quite fond of my example of the breed.

Singer 401G Sewing Machine showing needle and tension unit

I don't know how anyone couldn't fall for the streamlined 1950s styling of the Singer 401G.  Part Hillman Minx and part Roberts Radio - what's not to love?

Now I am prepared to accept that 401G might not be everyone's cup of tea but there is no denying that this machine was a range-topper in its day and, if one can bond with one, these machines still offer a lot to the domestic sewer.


Face plate open, tension unit and needleStitch length regulator

What really strikes me about this machine is the general quality and attention to detail on offer.  How thoughtful that the faceplate is hinged for cleaning and oiling and that on the inside is a threading diagram for both needle and bobbin?  The feed is fully reversible and, after the anonymous chrome knobs of the 28K and 15K, the clearly labelled indicator plate is a doddle to use.

AK3 is the setting needed to obtain a straight stitch

There is a lamp hidden behind the "Singer" name plate which is prefocused on the needle - very handy.  The red lever slides to set the position of the needle or the width of the zigzag.  The large centre knob is used to set the type of stitch.
The top of the machine opens to reveal yet another handy diagram.  This one shows the settings needed to obtain some of the many stitches the machine can produce.  The circular space int the top of the machine is where pattern cams can be fitted in order to obtain even more patterns. This machine was originally supplied with five cams.

Now those of you have been following the blog will remember that I had tracked down a set of tool drawers to match this machine.  The way these work alongside the machine and its extension table is typical of Singer's thoughtfulness at this date.

Notice the spring clips on the extension table and the profile of the edge of the tool drawers

The extension table clicks onto the top of the tool drawers

The unit attaches to the bed of the machine, the extension table is supported by the tool drawers and the overall result puts me in mind of an aircraft carrier.

And when ones is done the whole lot packs away beautifully.  It's no bigger than a large brief case but it weighs a lot more.


Sunday 7 April 2013

The Log Cabin Quilt: Pieced and pressed

It feels like it has been a long time coming and I know that I still have a way to go.  Nevertheless I cannot help feeling that I have crossed a personal rubicon this evening.  I have finished piecing the log cabin quilt top.


The top is now 42 inches wide and 56 inches long.  I think this will be a decent size for a cot plus a little bit of growing space.

I finished the borders on the Singer 201K.  I am still quite new to the treadle but I managed the long seams reasonably well.  The large level workspace is a bonus.  I only had one sticky moment when I upset the apple cart by letting the machine run backwards.  Result?  - Great wads of top thread knotting up on the underside of the work - this is to be avoided.  I had to stop, cut the work from machine and unpick the mess before I could continue.

So now it is time to think about putting the 201K to bed for a little while and introduce the Singer 401G.  That's the machine I am going to use to straight-line quilt this project.  But for now I think I've earned a beer.


Tuesday 2 April 2013

The Log Cabin Quilt: Every Last Scrap

A long break from sewing over Easter but I am back in business now with a borrowed camera.  Last time I said I was nearly out of white fabric to finish the piano key border.  After another frantic search through the scrap box I turned up these.


They are the cuffs from one of my old shirts.  Most of the shirt has now been turned into log cabin blocks and piano keys.  Each cuff is double thickness so, between them, there is quite a bit of fabric here.  The middle piece of fabric is in fact bias cut interfacing so it will not be used in the quilt.  I will save it just in case it can be used for something else at some point.  The dark line on the fabric nearest the camera is actually the table showing through a very worn strip.


The cuff has yielded five more piano keys for the border.  I could only get two out of the piece with the worn strip.  I pressed and spray starched the fabric before cutting out the piano keys.


I have one more cuff to "process" and if I run short again I still have the collar as a last resort.

This is how I have decided to solve the problem of my corner stones.


I am happy with this effect.  It feels like these are going together more easily than mitred corners (which I used on my first ever quilt) and I like the way that the stepped strips continue as a variation on the log cabin theme.

I am setting myself the personal target of having this quilt top finished by the weekend.